Bridge txn Recovery
Video Tutorial
- Bridge txn Recovery walkthrough video
This tutorial guides you on how to Recover Syndicate Bridge transaction incase you lost it or due to some other issues. All transactions on bridge are decentralized so it could be used through the smart contract execution and also using API for cosigner. Let's see an step by step example of lost transaction and manual recovery for it.
warning
Bridge txn recovery is shown on Testnet
important
To create Metamask wallet and Configure Oneledger on metamask please follow this
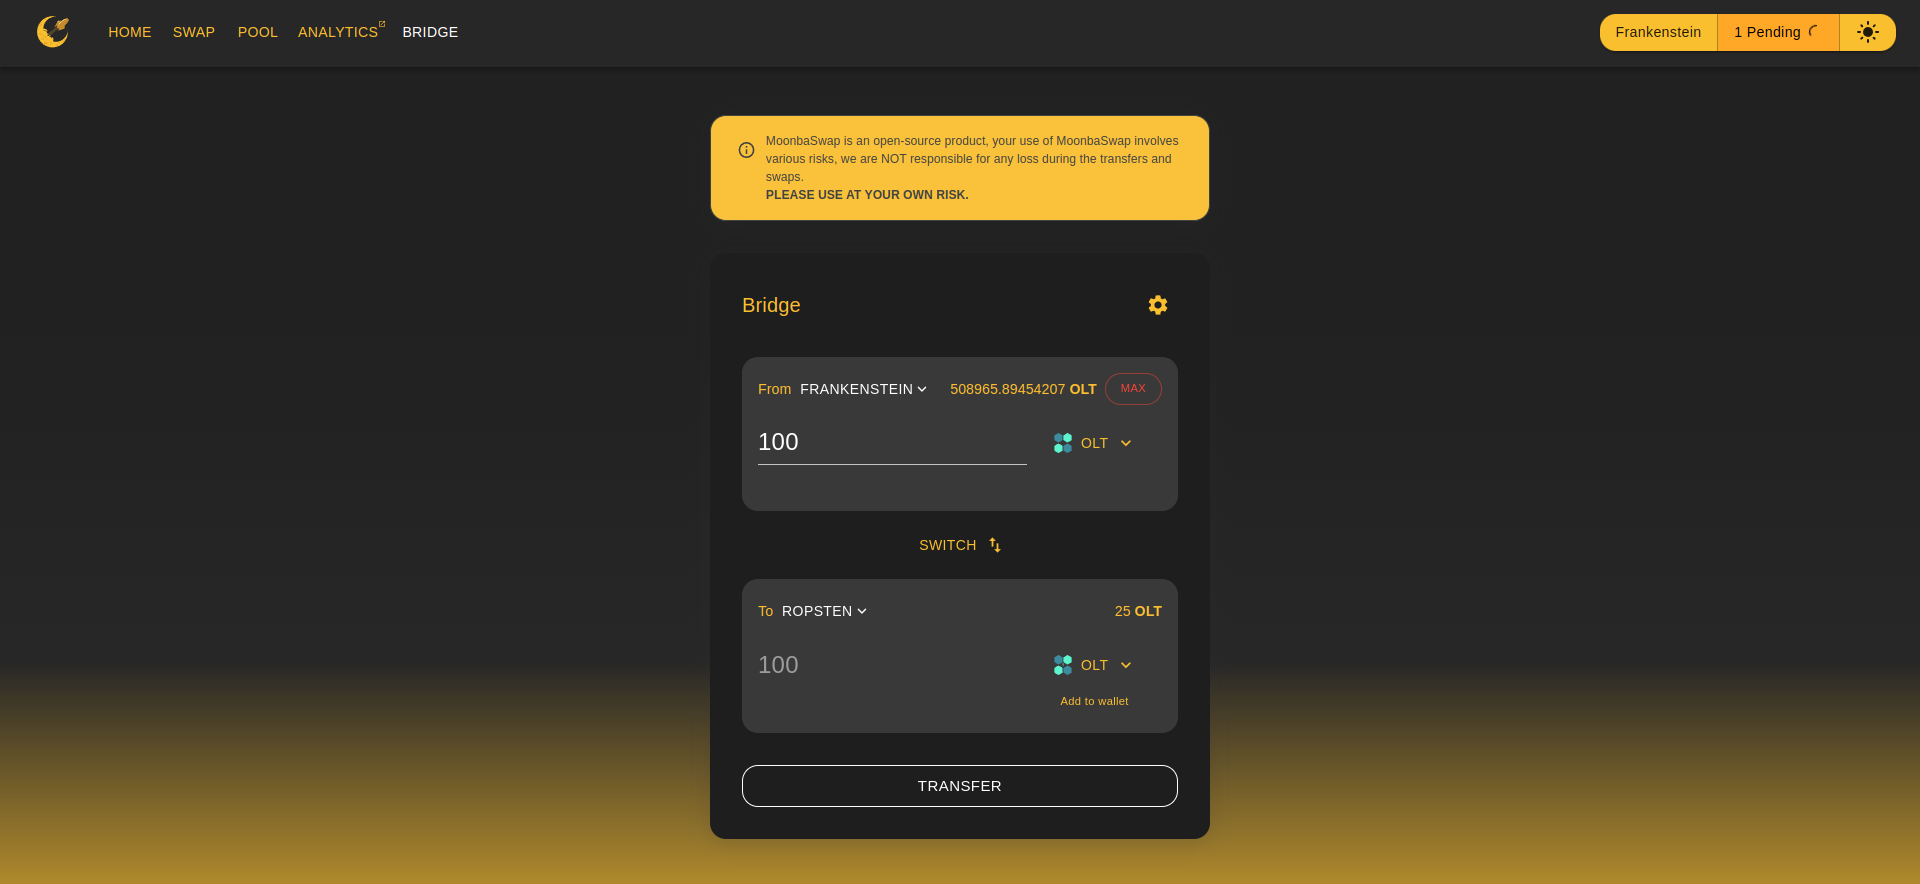
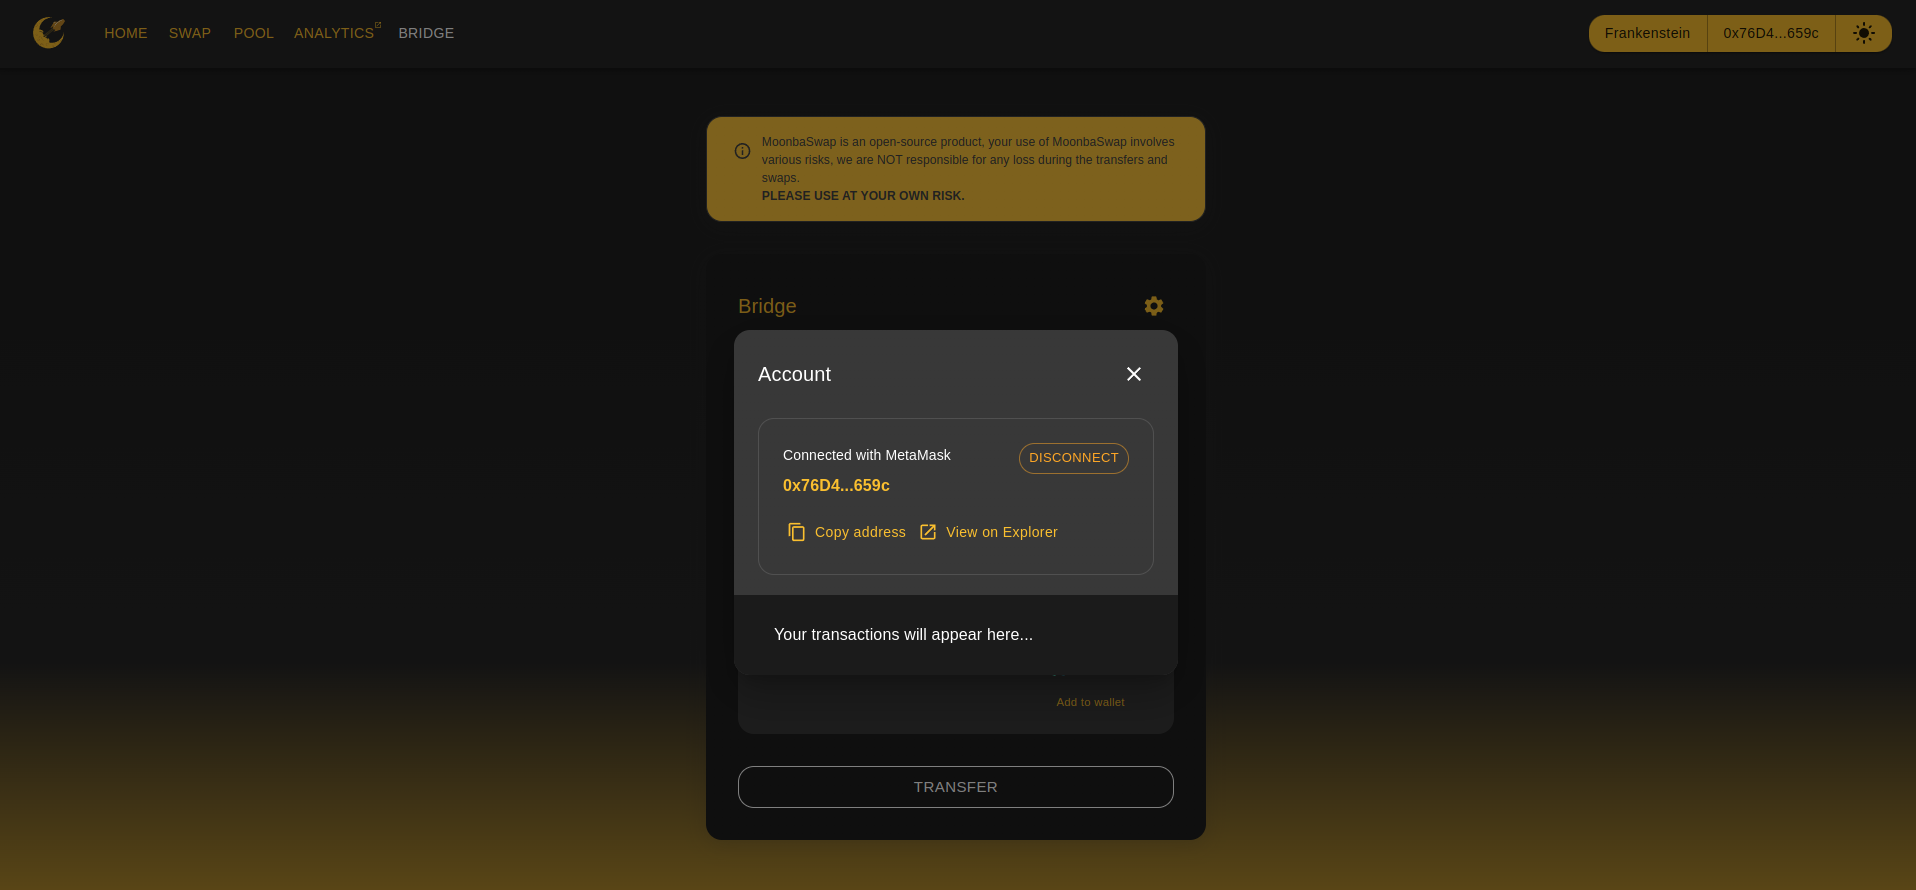
Click this Syndicate Bridge URL and connect your wallet to metamask.
Now for example let's send 100 OLT from Frankenstein to Ropsten Testnet and click Transfer.
- You can see the pending transaction on top right corner, Due to some reason you have lost your transaction or you can not see it but your transaction was mined and contract interaction was successful as shown below.
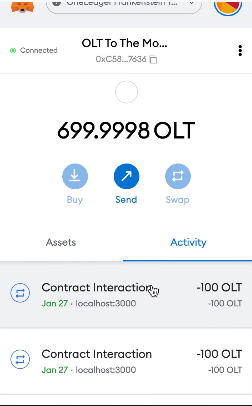
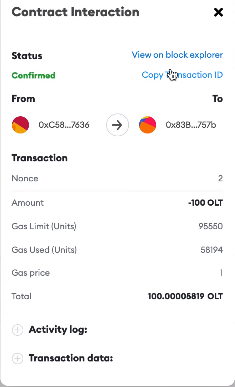
- Now click on Contract Interaction and Copy Transaction ID.
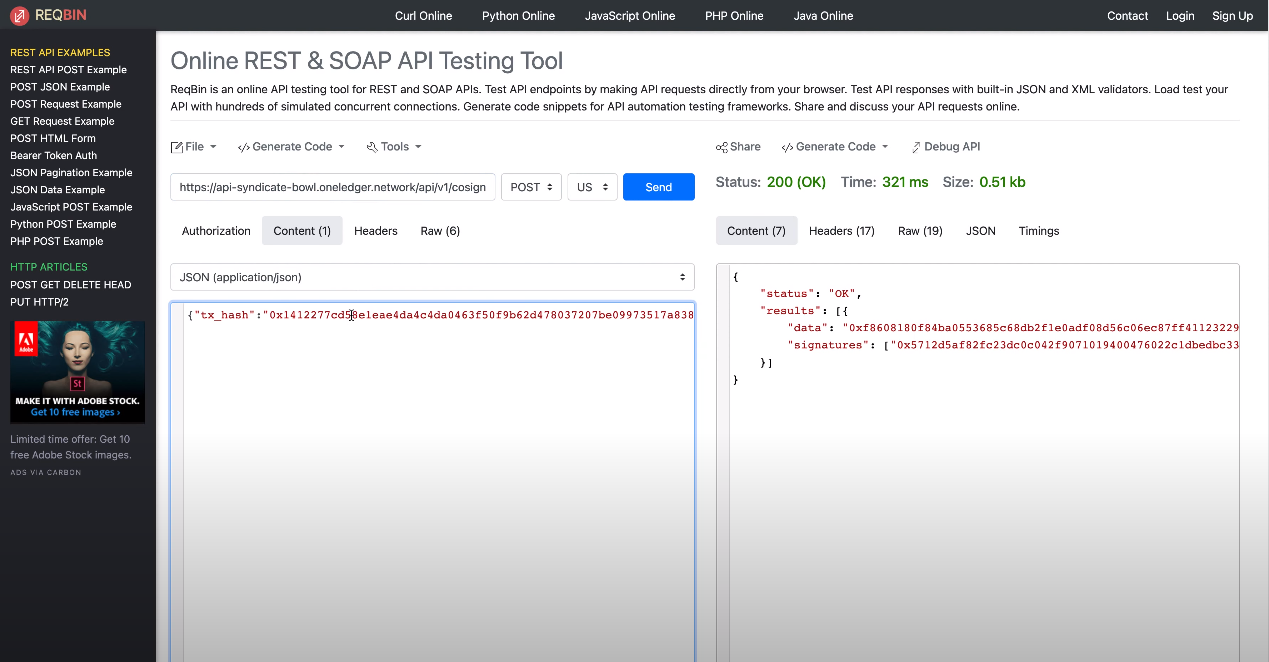
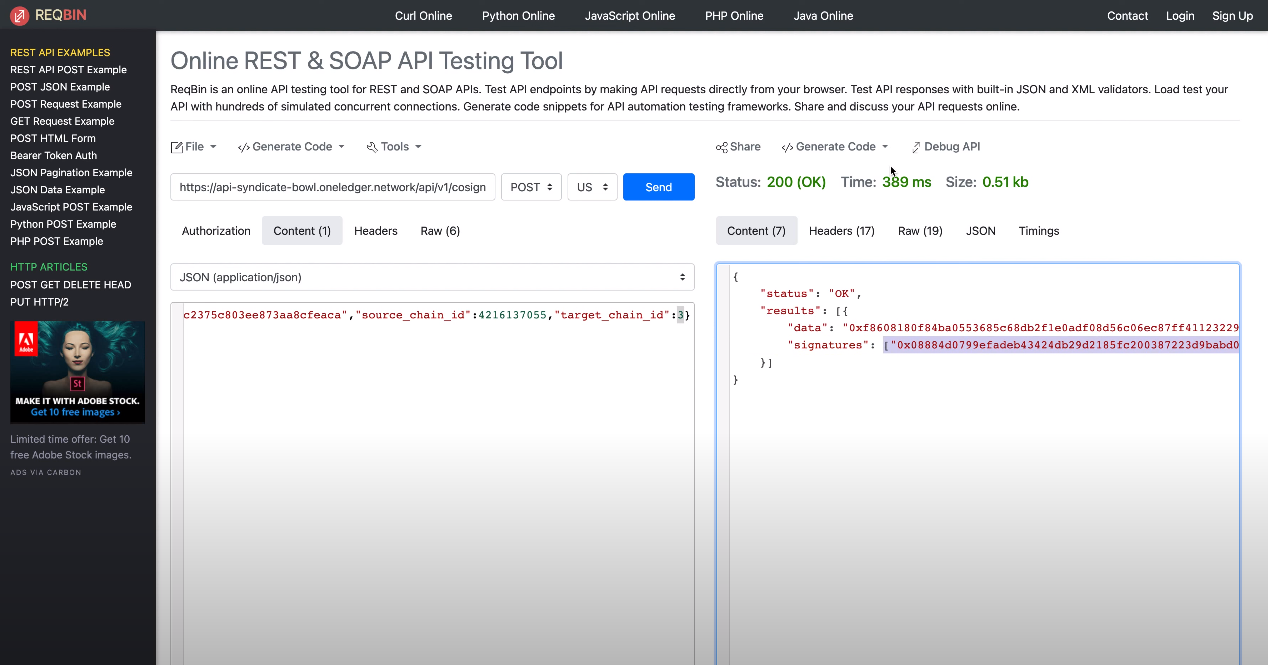
Go to online tool for example REQBIN.
API Endpoint : https://api-syndicate-bowl.oneledger.network/api/v1/cosign
Content :
{"tx_hash": "PASTE_TRANSACTION_ID","source_chain_id": 4216137055,"target_chain_id": 3}(Note: Here "source_chain_id" is Frankenstein Testnet ID and "target_chain_id" is Ropsten Testnet ID. If it is on Mainnet you should choose the right chain ID's. Get the chain ID's list here)
Make an API request with POST message and JSON content, You will see the output with data and signatures section on right-hand side with status 200(OK).
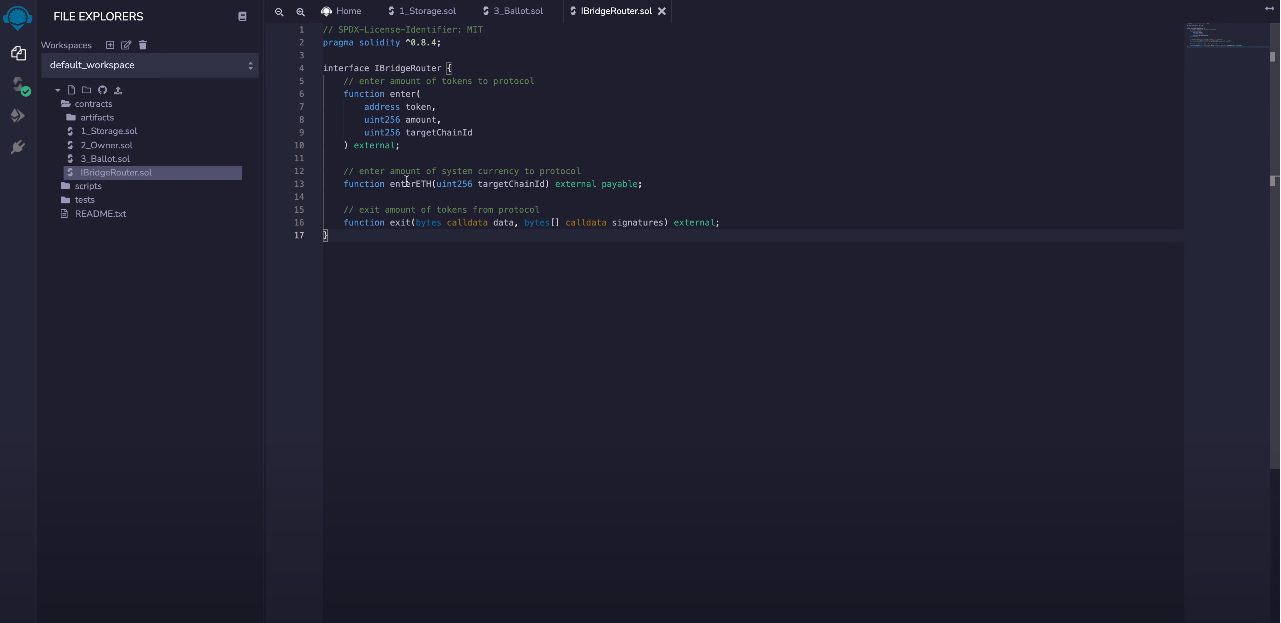
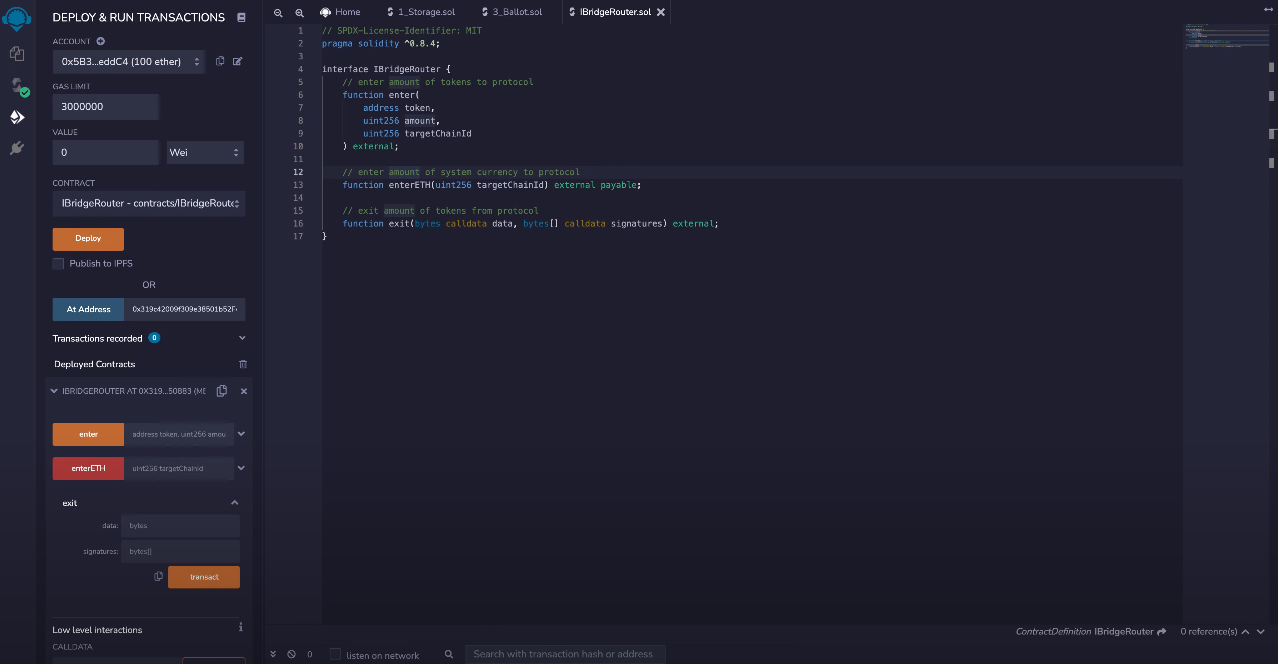
- Now go to Remix Solidity IDE console.
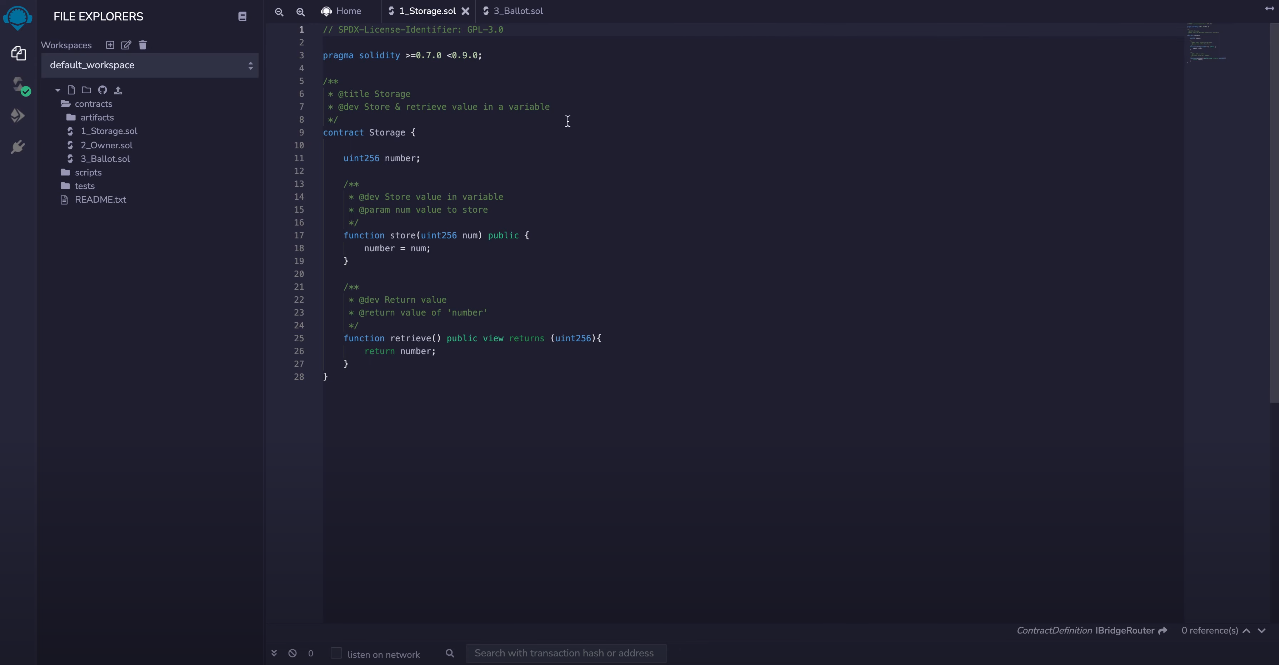
- We should copy the Interface to execute transaction on Ropsten network using Remix. Click here to copy the contract and add the smart contract in Remix IDE as shown below.
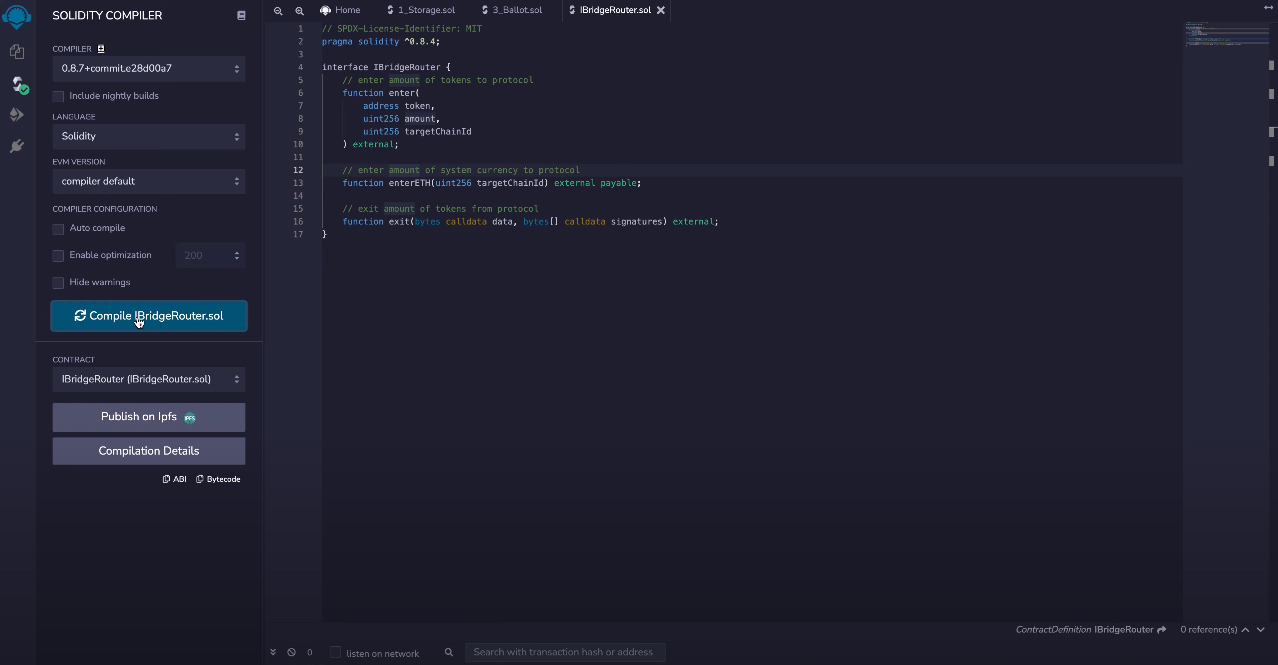
- Click SOLIDITY COMPILER button on left Panel and Compile the code.
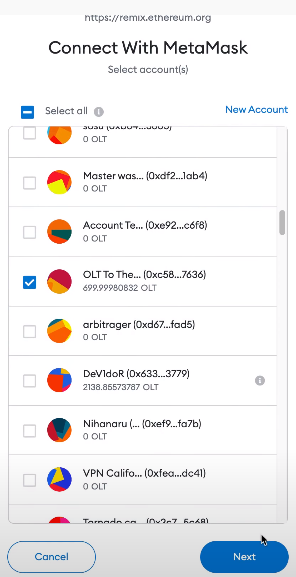
- Now let's connect Remix IDE with Metamask, On Remix IDE console click on ENVIRONMENT and select Injected Web3.
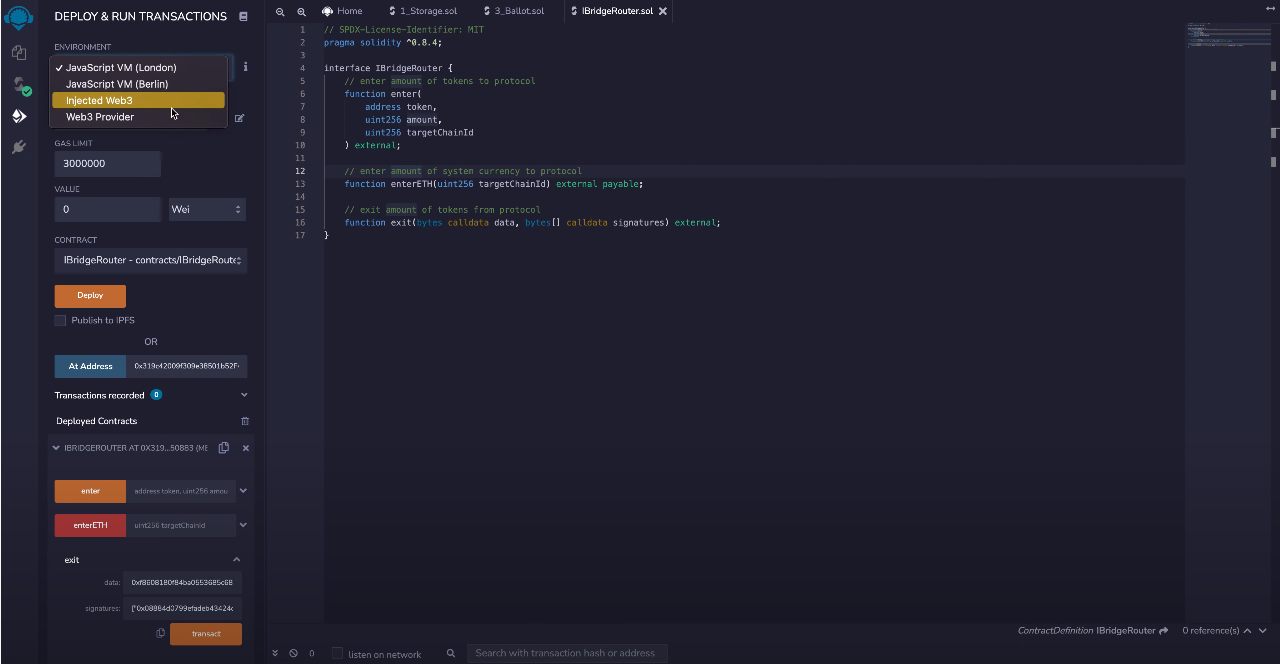
This will connect to Metamask, Change the network to Ropsten.
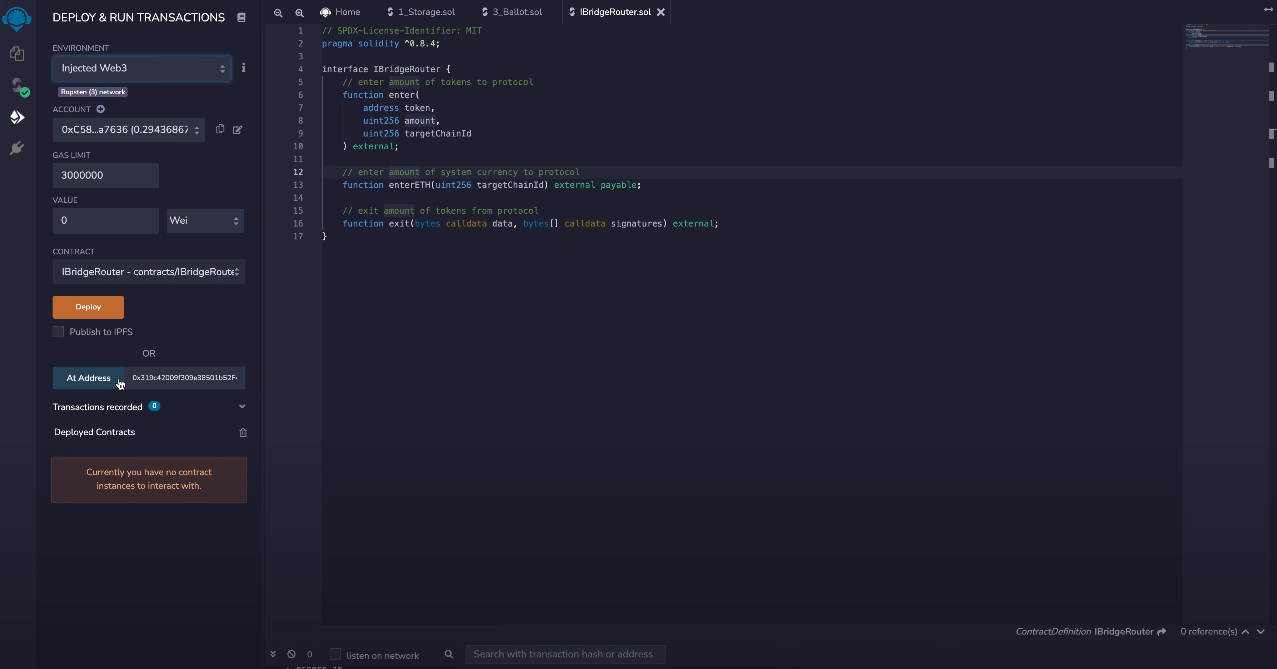
Now lets get the deployed bridge smartcontract address, In our case we need to get Ropsten contract address to receive amount on target chain. Click here to get the Ropsten contract address and paste it in AtAddress section as shown below.
(Note : To get the other chains deployed bridge smartcontract address click here)
Now click on AtAddress you will found the smartcontract with three main methods as shown below, In our situation we are receiving OLT on Ropsten so we expand exit method to enter details.
enter : This function to send transaction without bridge UI
enterETH: This function is the native token for example ETH,BNB,OLT
exit: This function is to receive transaction
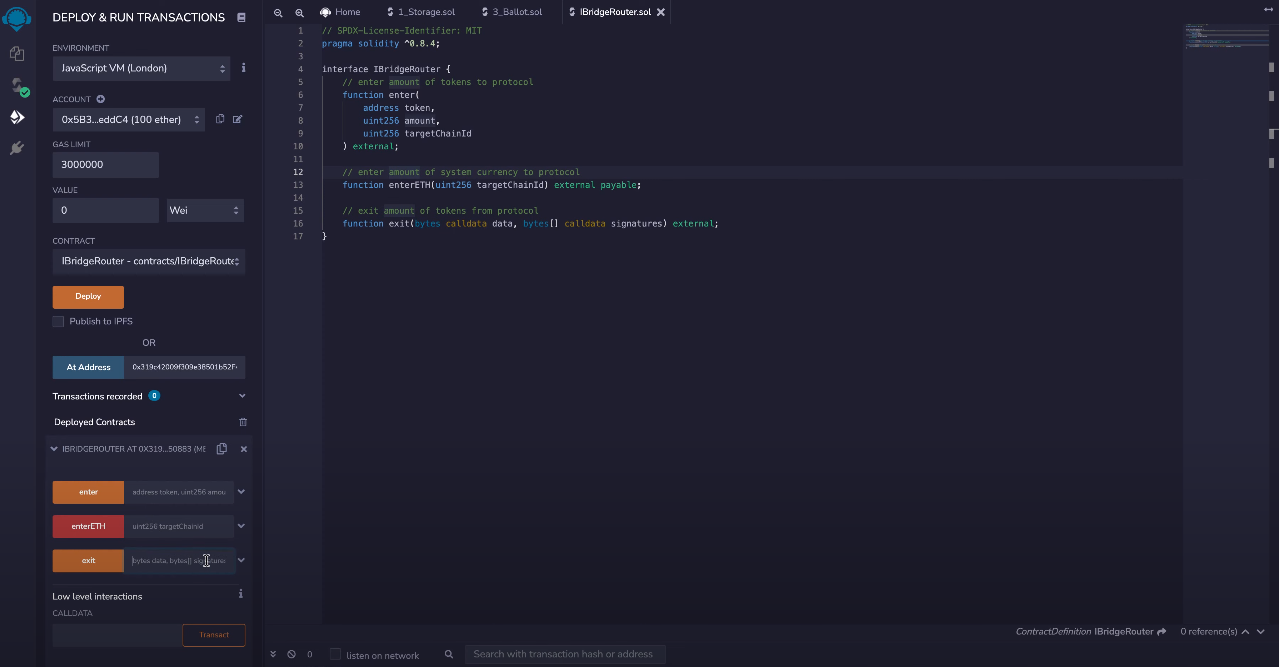
- Copy the data (without Quotes) and Signatures (with brackets) output fields from Step 5 above and paste it in exit method.
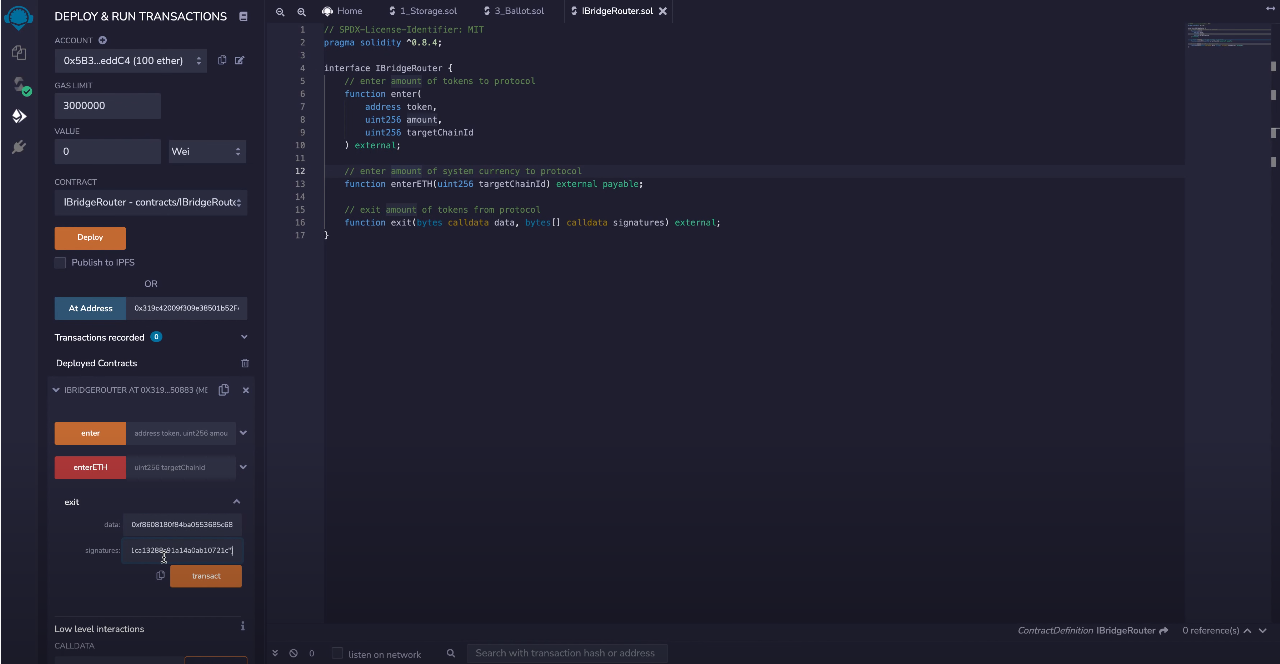
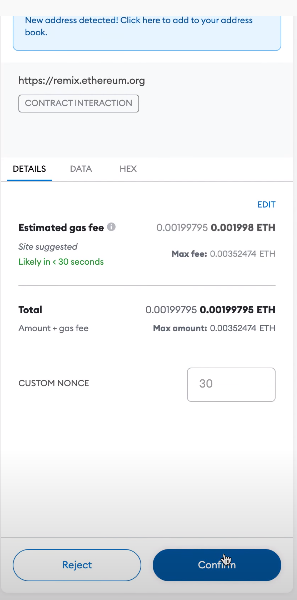
- Click on Transact button and then confirm.
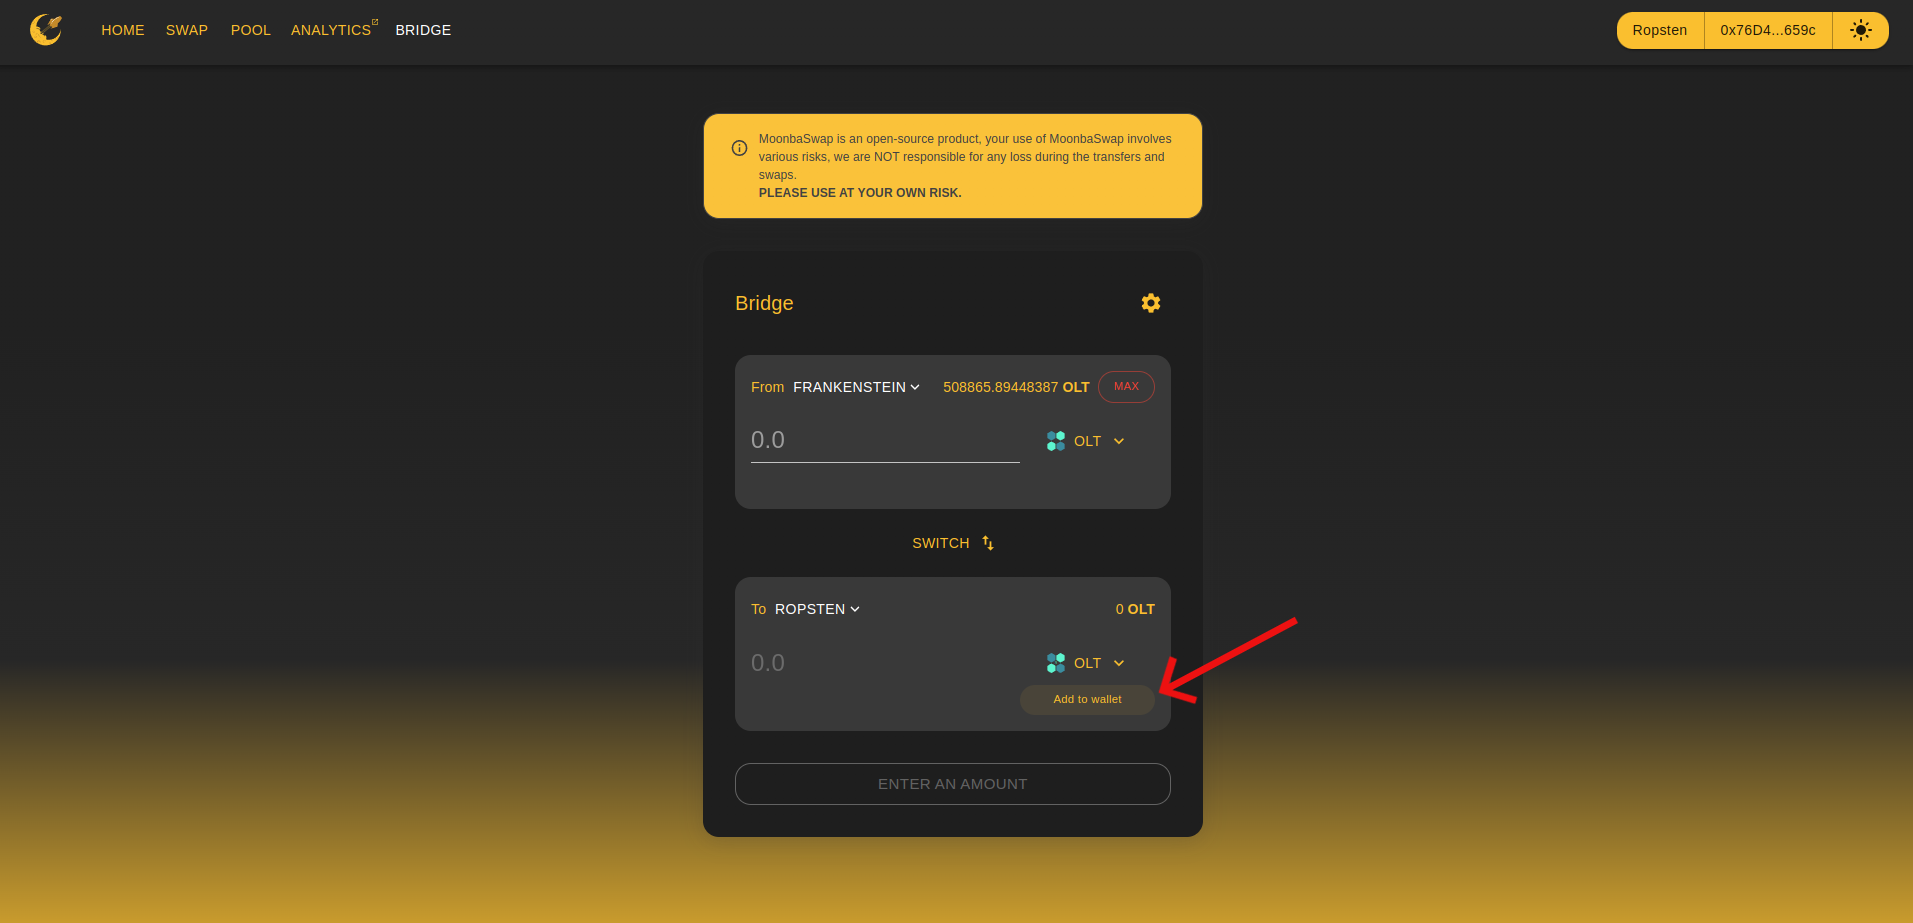
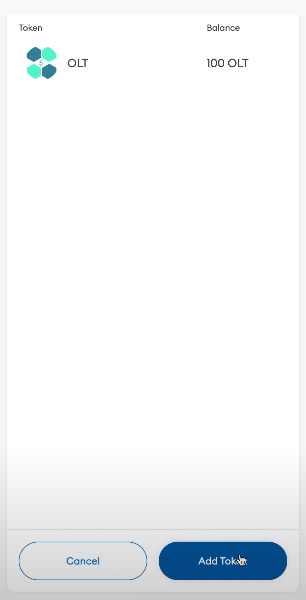
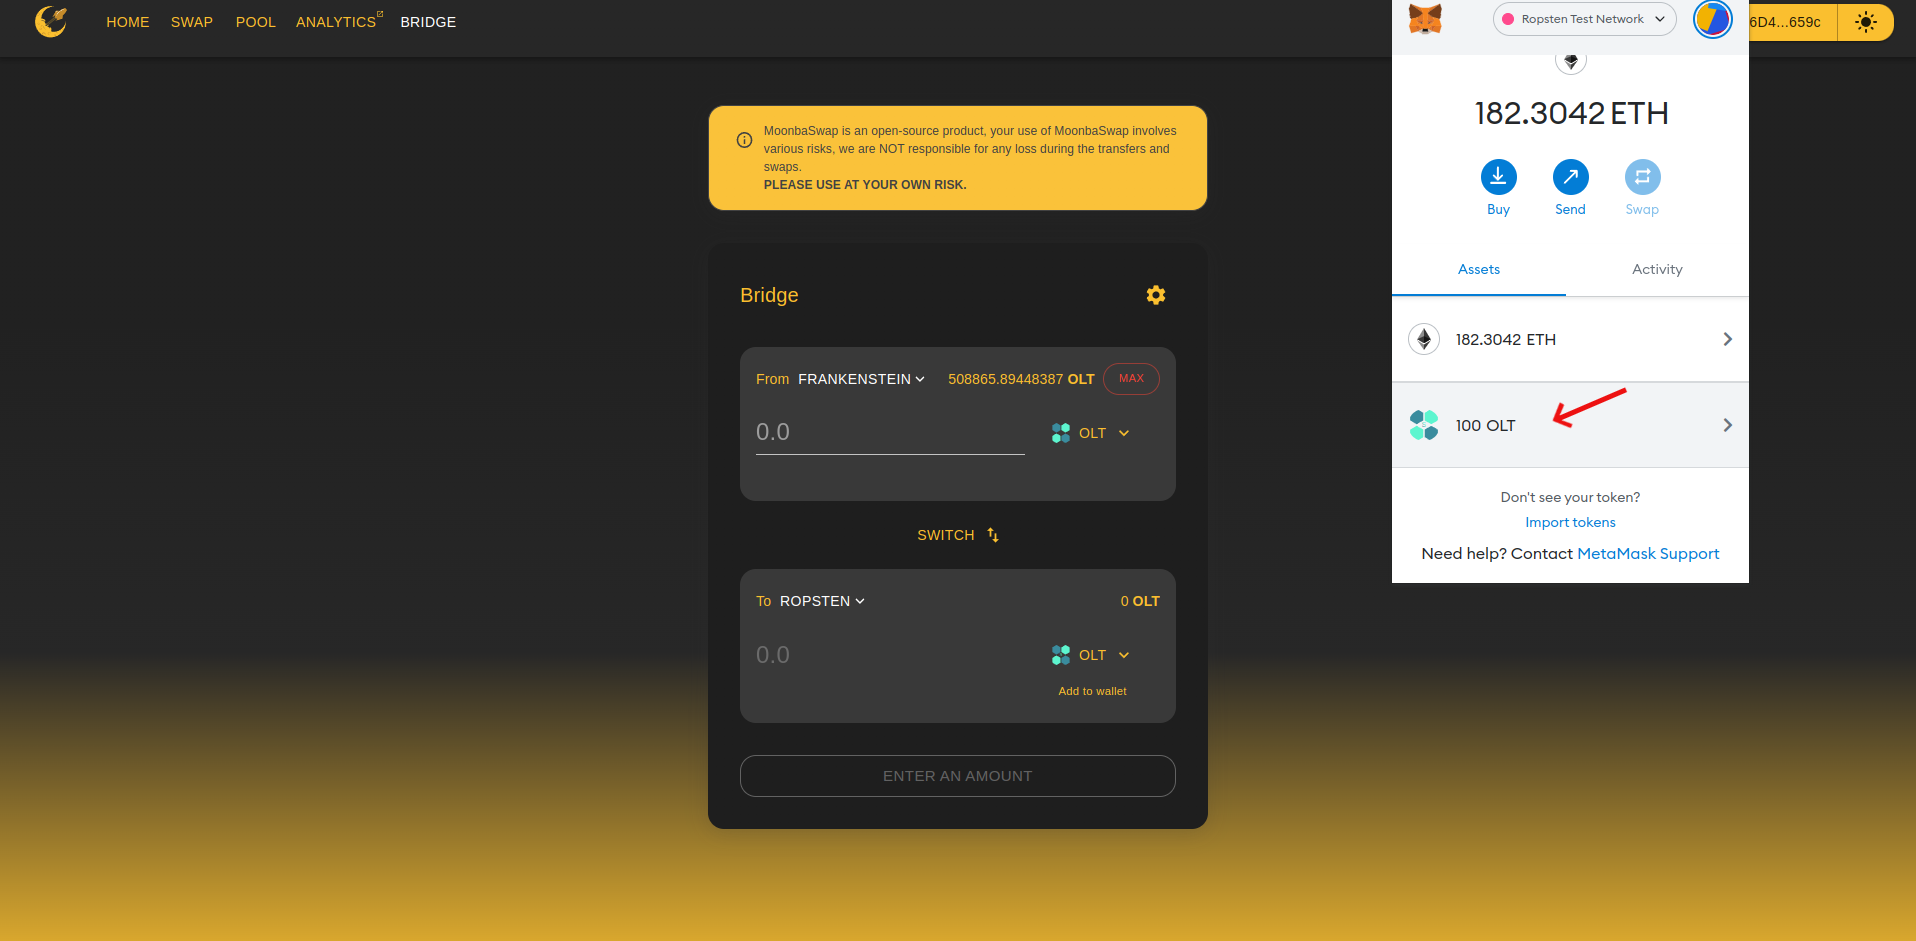
- Go to Bridge UI and click on Add to onewallet button and then click on Add Token you will receive your 100 OLT to your Ropsten network.
Congratulations!!! You have succesfully recovered your bridge txn.